Taking the living form of wood and turning into beautiful, functional art has always appealed to me. Each piece of wood is unique, having its own character and detail that emerges and is then showcased in the finished piece. I choose not to purchase wood (what some call “wood blanks”). Instead, I prefer the “start” to “finish” process of working with downed trees, or reclaimed "historic" woods. The hardware and embellishments used are collected from my travels abroad including Italy, France, Germany and Austria. Much like the historic nature of the wood I use, the hardware used is often collected from antique and architectural salvage shops, some being many centuries old.
my process

Acquiring

Drying

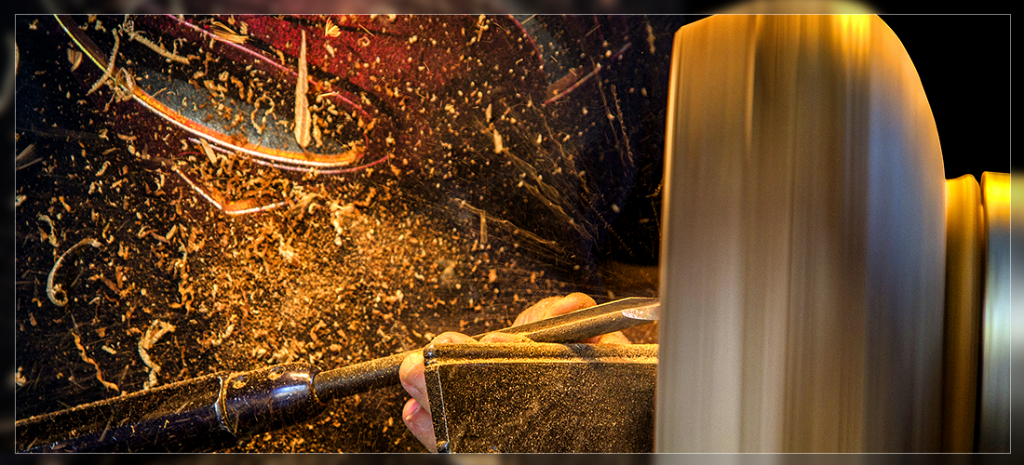
Turning
Typically, I take what the wood gives me. I usually do not rely on a plan or layout that I follow. Instead, I like to keep turning and cutting until I feel it looks 'right', it's the overall feel of the piece that I am looking for... in a sense, the wood speaks to me; I just reveal the design and beauty it has hidden inside.
Finishing
One I create from my own mixture that includes shellac (Fun fact: shellac is actually created from the shell of a bug called a Lac. They are harvested from limbs of trees and processed into a finish). Another is a wax finish called 'French Polish Technique' that is put on by a buffing wheel at high speeds. Both are safe and durable. In some cases I use a spray varnish. I do this to pieces that have lots of 'punky' or rotted areas (though difficult to work with, this punky/rotted condition often results in a stunningly beautiful appearance) to help hold it all together and create a glossy finish.
I do not use stains or anything that alters the color of the wood; I choice this option because I believe one just cannot improve on the natural beauty nature has bestowed in each piece... so why not let it shine!
You must be logged in to post a comment.